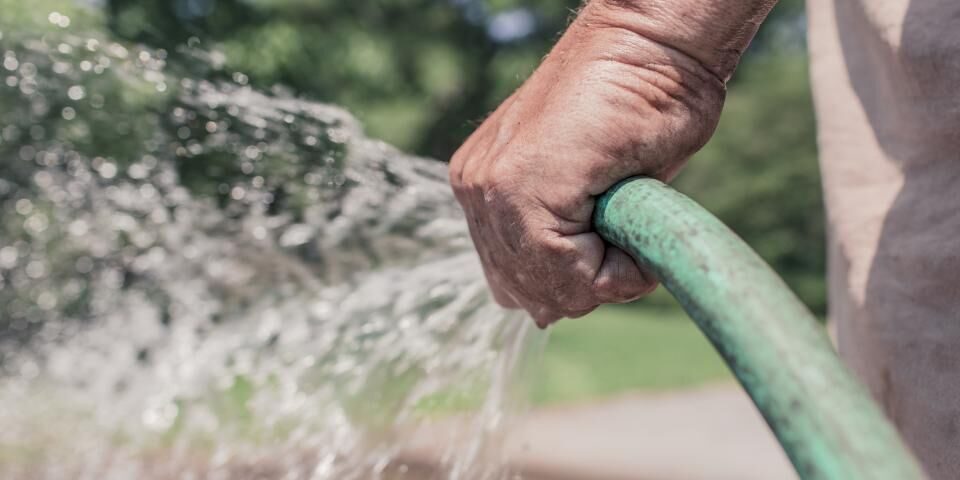
Hand watering garden beds on a hot evening is pleasant for a while, but it soon becomes a chore. Sprinklers are quicker, yet much of their water lands on paths, leaves and bare ground. Drip irrigation puts water slowly into the soil right where the roots are. For many home gardens it is one of the simplest ways to water well with less waste.
This guide explains how drip irrigation works and what parts a home system needs. It also covers choosing drippers for your soil, laying out the lines and keeping the system working. The advice draws on a council fact sheet from Wollondilly Shire in New South Wales and a university guide to home drip systems. Check your local water restrictions before you start, as rules vary between areas.
How drip irrigation works
A drip system delivers water through small emitters, or drippers, at the root zone of each plant. The Wollondilly Shire Council drip irrigation fact sheet explains that the lines can sit on the soil surface or below it. Because water goes straight into the soil, very little is lost to wind, evaporation or run off. That makes drip a good fit for sloping and windy sites.
Only the soil around the roots gets wet. The council notes this lowers the risk of insect and fungal problems and reduces weed growth. A university fact sheet adds that wet leaves encourage leaf diseases, which drip avoids. Dragging a hose through beds can also damage plants, another problem drip removes.
The parts of a home system
A basic drip system is made up of a handful of parts that connect to an outdoor tap. The University of Vermont guide to home drip irrigation lists a backflow preventer, a pressure regulator and a filter at the start of the line. The backflow preventer stops garden water flowing back into the household supply. The pressure regulator brings household pressure down to suit the drip system.
The filter removes sediment that would otherwise clog the drippers. From there, a mainline carries water to the garden. Smaller drip tubing branches off it to run along each bed. Fittings join the pieces together, and goof plugs fill holes you no longer need.
Controllers range from a simple tap timer to a controller that waters different zones at different times. The Wollondilly fact sheet also mentions rain sensors that switch the system off in wet weather. Soil moisture sensors are another option and water only when the soil dries below a set level. A backflow device is also needed if you want to feed liquid fertiliser through the system.
Choosing drippers for your soil
There are two main types of dripper. Inline drippers are built into the line at set spacings, and most are rated at 2 litres per hour with drippers 300 millimetres apart. Inline line is the cheapest and easiest option for dense plantings, vegie gardens and groups of plants. Online drippers are pushed into the line where you need them and come in 2, 4 and 8 litre per hour sizes.
Soil type guides the choice. The Wollondilly fact sheet explains that clay soils take water in slowly but hold it well once wet. Low rate drippers of 2 litres per hour suit clay, as the water moves deeper and is less likely to run off or pool. Free draining vegie garden soils need higher rates, such as 8 litres per hour, or more drippers placed closer together.
Grouping plants by need
Plants differ in how much water they need. Native plants generally need less than exotics, and mature plants need less than new ones. Plants in full sun need more than those in shade. Splitting the system into zones that group plants with similar root zones makes it easier to water each area properly.
This kind of planning fits well with landscaping ideas that are kind to the environment such as planting waterwise natives. If you are redoing beds, lay out the zones at the same time. Our guide to preparing for a landscape renovation covers how to plan the stages of a garden project. Irrigation is far easier to install before plants and mulch go in.
Laying out and installing the lines
The Wollondilly fact sheet suggests counting the joints and connectors you need first, then choosing drippers for each plant. Lay the line out above ground before you dig anything. Dig a shallow trench of about 10 centimetres, or a little deeper in sandy soil to hold the line in place. Warming the end of the pipe softens it and makes joining easier.
Keep the emitters above ground so soil does not clog them. Install the controller and any sensors, then backfill the trench to hold everything in place. Run the system a few times and dig into the soil after watering to check how far the water has spread. Adjust run times or add drippers where the soil is still dry.
Many people install drip systems themselves, while others prefer to have it done with the rest of a garden job. If you get quotes, our article on how landscaping services are priced can help you understand what you are paying for. Professional designers can also plan zones and drippers as part of the overall layout. That is one of the advantages of professional landscape designers on larger projects.
Keeping the system working
Drip systems need a little care to stay efficient. The council recommends flushing and maintaining the system regularly, as leaks or misaligned lines can waste a lot of water. Do not mix drippers and spray heads on the same line. Mulch over the beds helps keep moisture in the soil between waterings.
Check the filter from time to time and clean it if it looks dirty. Walk along the lines while the system runs and look for wet patches, sprays or dry plants. Replace any damaged sections and plug old holes when you move plants. A quick check each season keeps the system running well.
Frequently asked questions
Do I need a pressure regulator for drip irrigation?
Usually, yes. The University of Vermont guide explains that a pressure regulator reduces household pressure to a level that suits the drip system. Check the instructions for your drip kit to see what pressure it is designed to run at.
What dripper rate suits clay soil?
The Wollondilly fact sheet suggests 2 litre per hour drippers for clay. The lower rate lets water move deeper into the soil. It also reduces run off and pooling.
Can I put drip line under mulch?
Yes. The council fact sheet notes that drip line can sit above or below the soil or under mulch. Mulch also helps hold moisture in the bed.
Why do I need a backflow preventer?
It stops water from the garden flowing back into your drinking water supply. This matters even more if you add fertiliser through the system. Ask a licensed plumber if you are unsure what your tap connection needs.